Project Type: Residential Flooring Refurbishment
Location: Cheadle, Greater Manchester
Product Installed: Engineered Herringbone Wood Flooring
Subfloor Preparation: 9mm Plywood Overlay
Installation Method: Fully Bonded (Glue-Down)
Project Overview
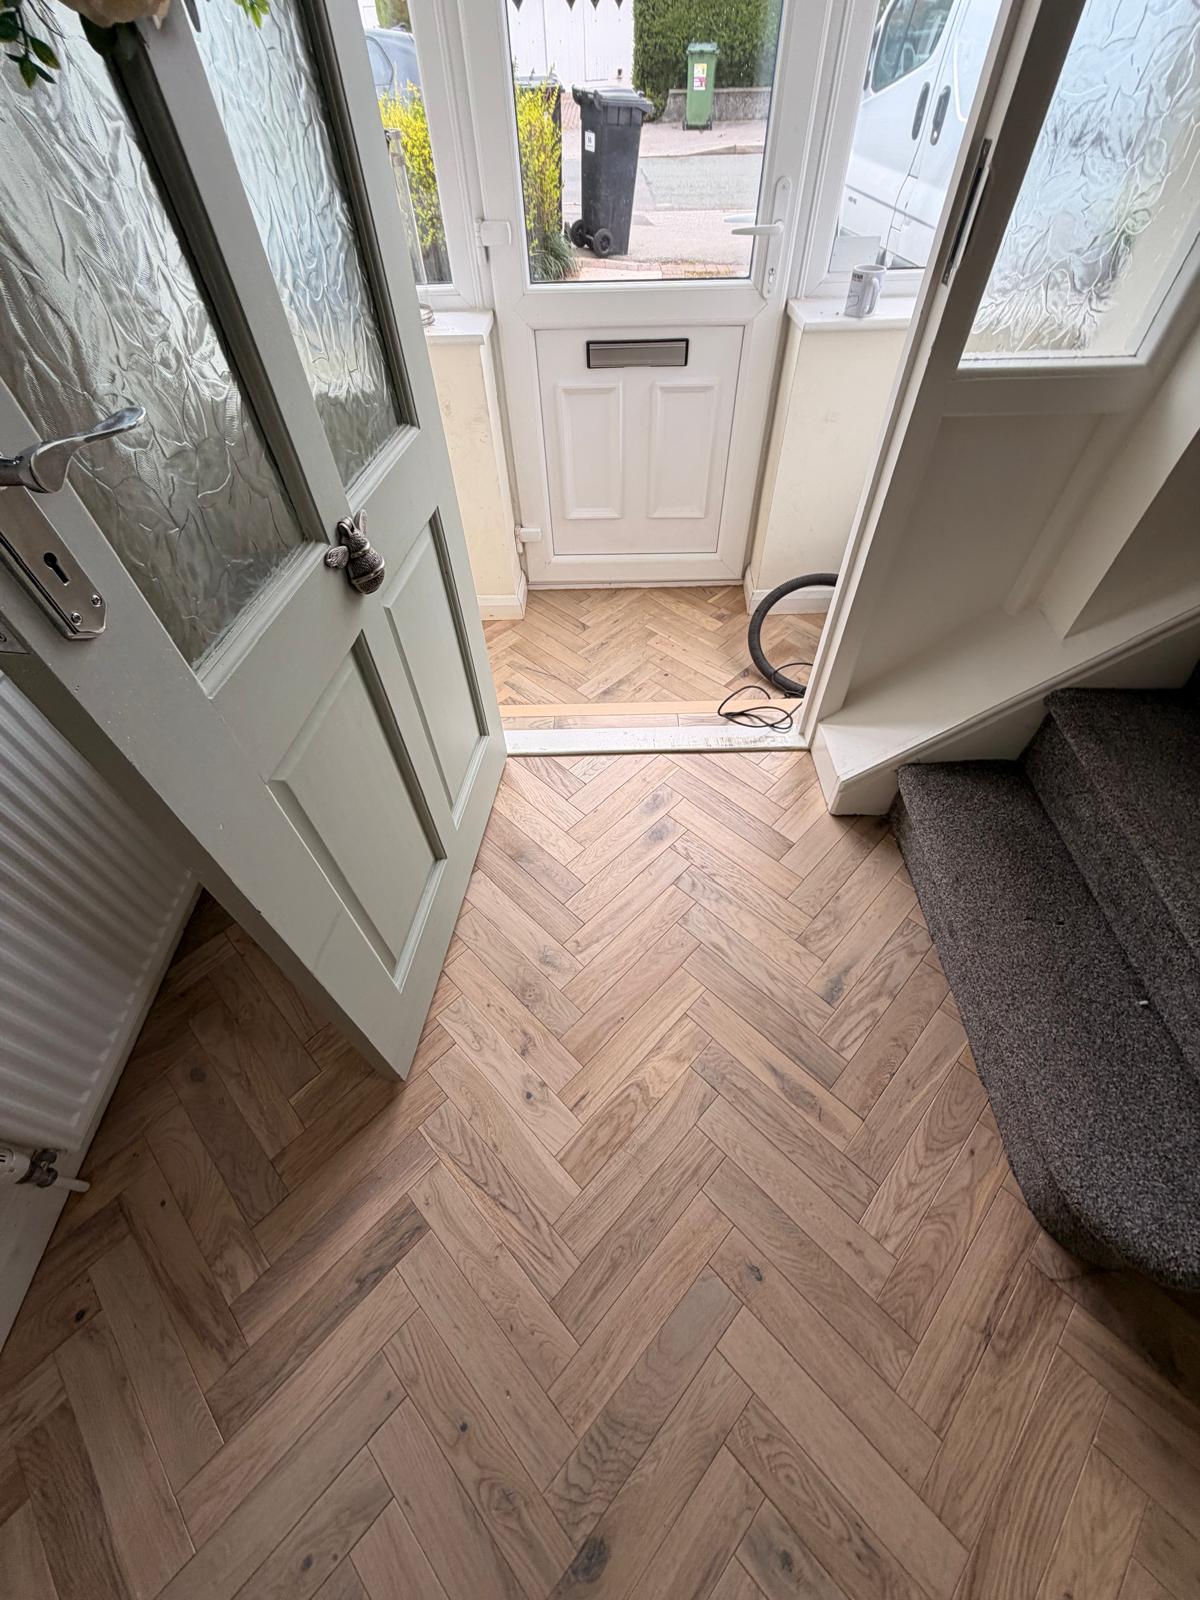
The client, a homeowner in a period property in Cheadle, wanted to replace a tired, carpeted hallway with a durable, character-rich wood floor. The hallway serves as the main thoroughfare and needs to withstand high foot traffic while adding a sense of luxury and flow to the home’s entrance.
The client specifically requested a herringbone pattern to complement the property’s traditional architecture, but required the stability and underfloor heating compatibility of engineered wood.
The Challenge
-
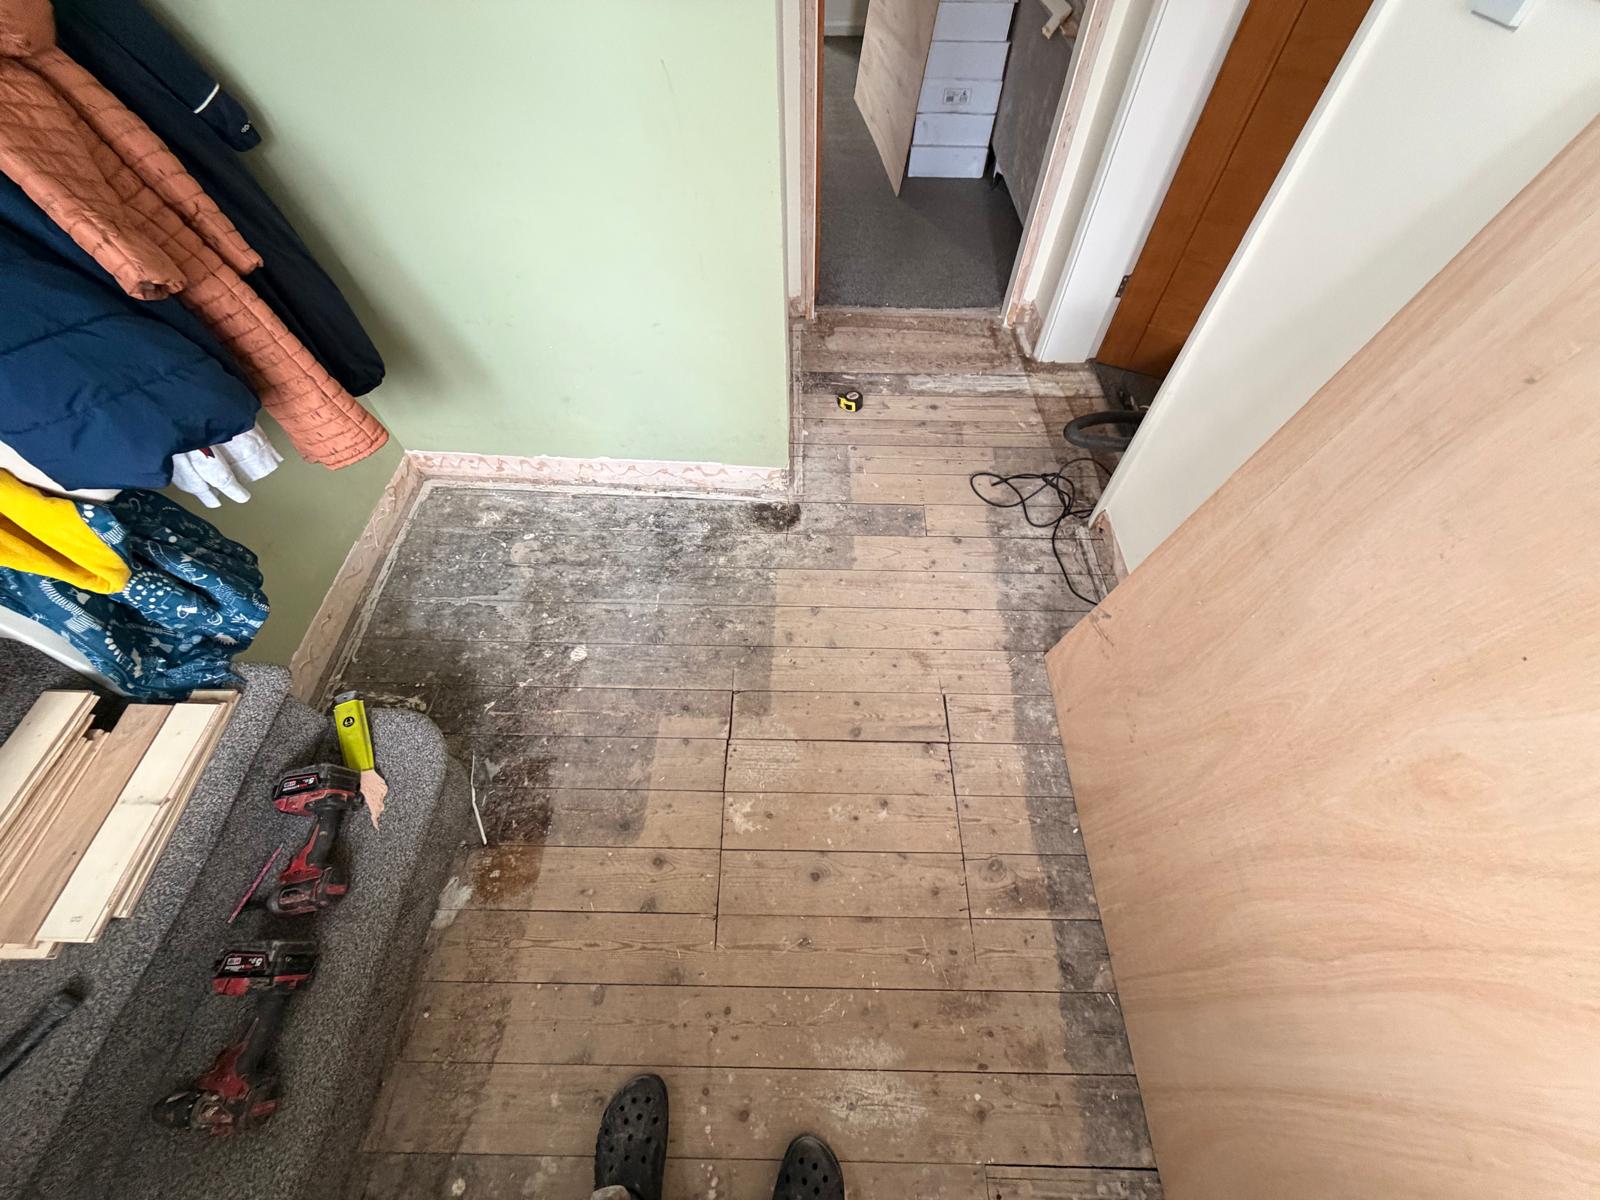
Uneven Subfloor: The original floorboards were uneven, with minor dips and peaks that would prevent a perfect herringbone layout.
-
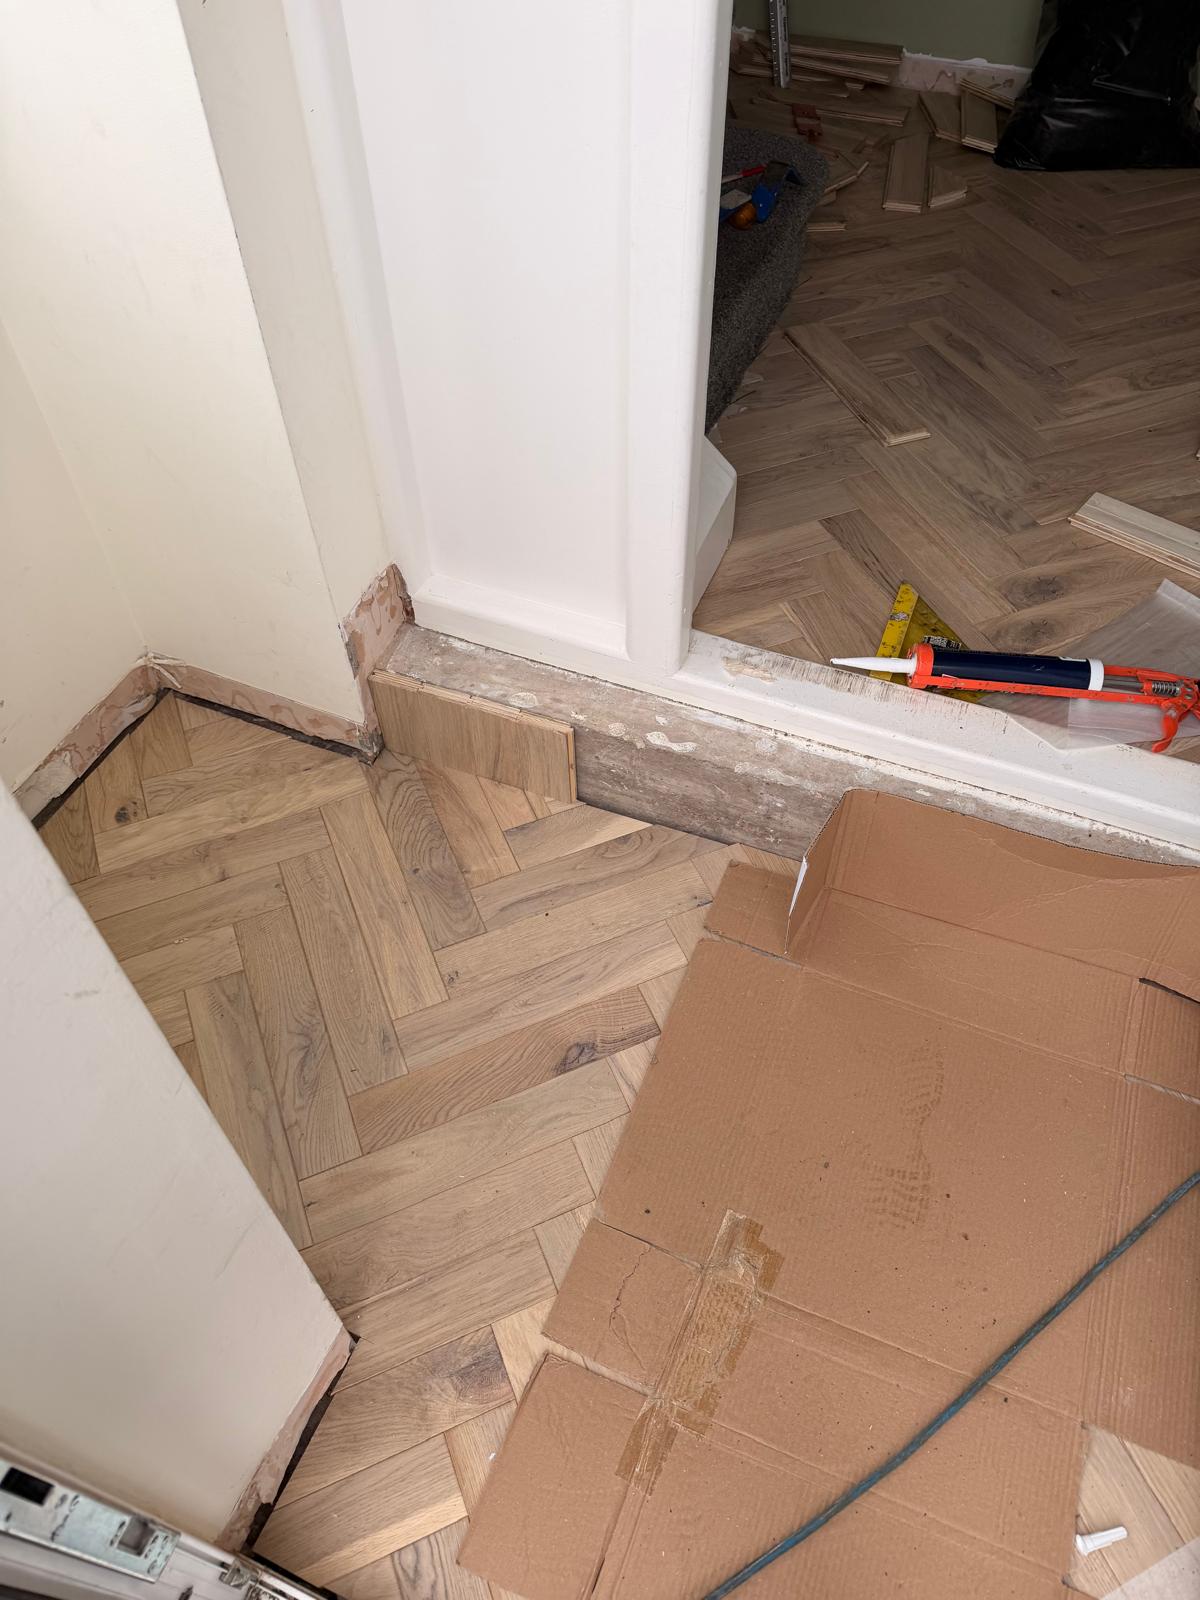
Skirting Integrity: Existing skirting boards were old and would not sit flush against the new, taller flooring assembly.
-
Bonding Requirement: A floating installation was not suitable due to the narrow herringbone planks and high traffic. A full bond (glue-down) was required to prevent movement, creaking, or lifting over time.
The Solution
Step 1 – Preparation & Removal
-
All existing carpet, underlay, and gripper rods were removed.
-
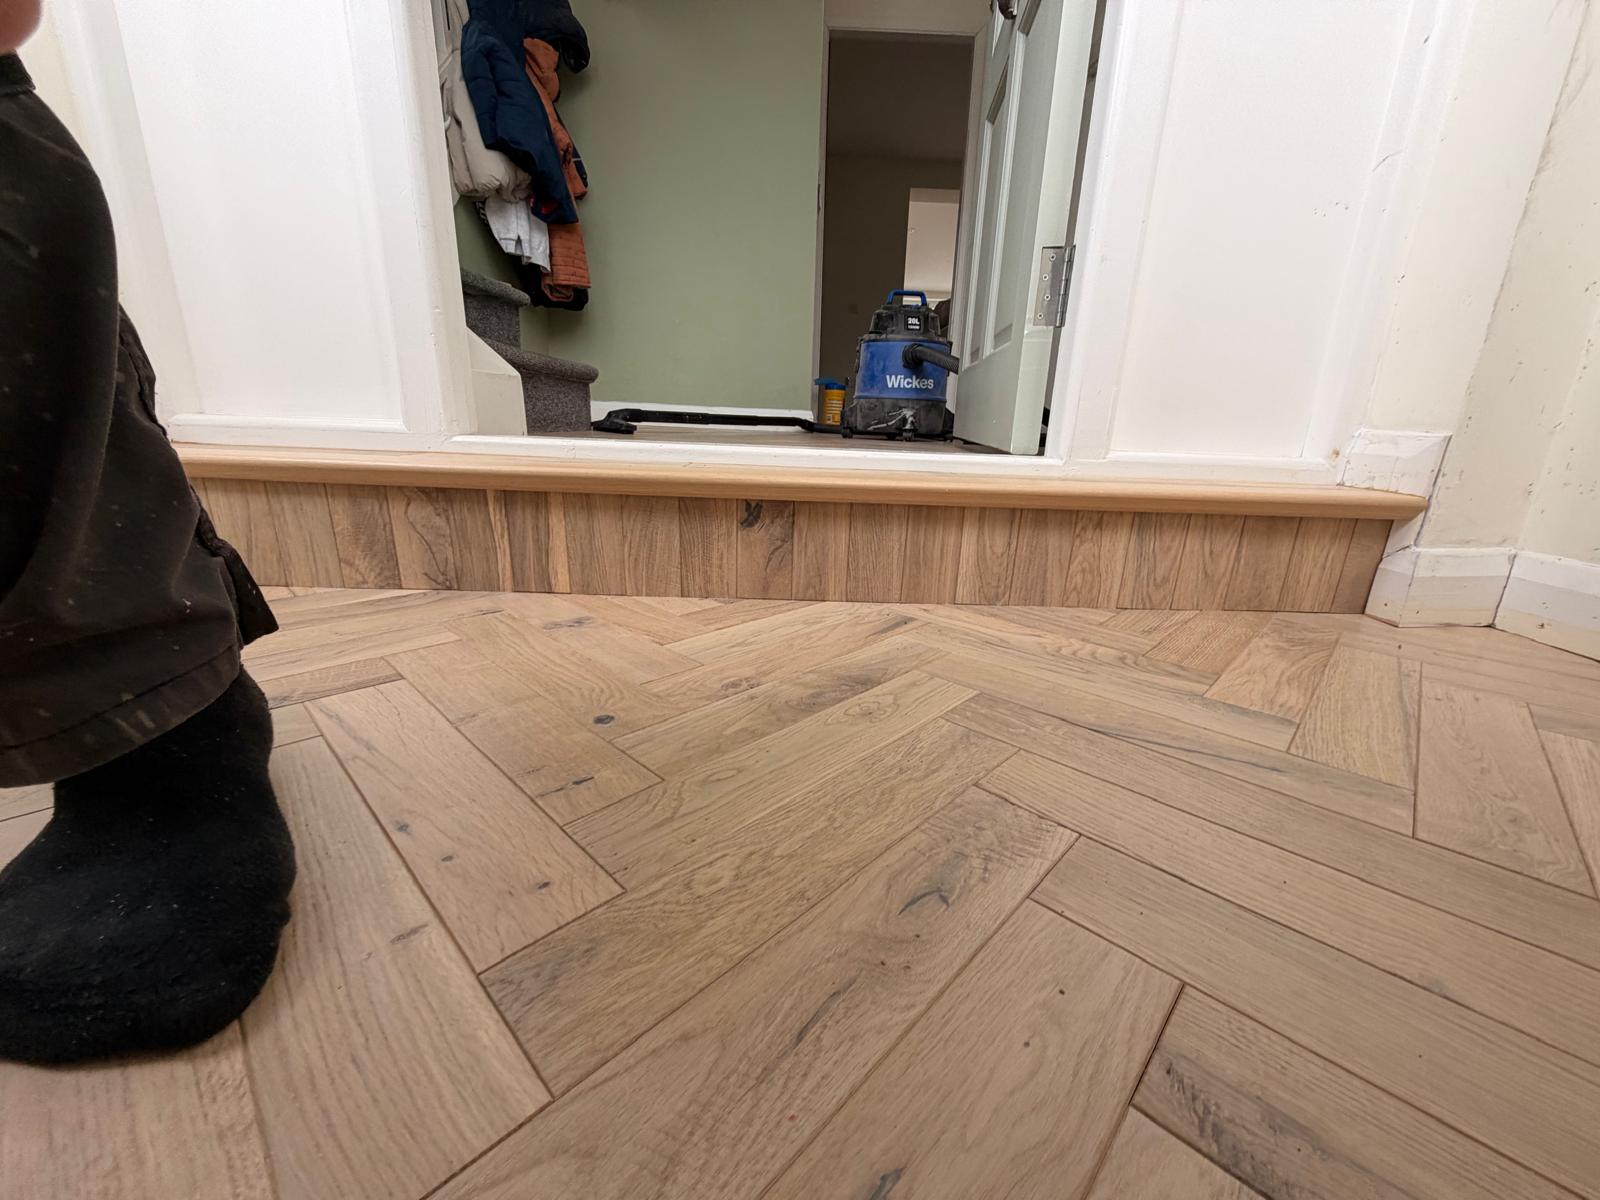
The original skirting boards were carefully removed (not cut around) to allow the new floor to be installed wall-to-wall, ensuring a seamless finish. The skirting would later be refitted on top of the new floor for a premium look.
Step 2 – Subfloor Levelling with Plywood
-
A 9mm plywood overlay was installed across the entire hallway.
-
The plywood was screwed down at 150mm centres into the original floorboards, counter-sinking all screws.
-
This created a perfectly flat, smooth, and stable surface necessary for small-format herringbone installation. It also provided a clean bonding surface free from dust and debris from the original timber.
Step 3 – Full Bonding (Glue-Down)
-
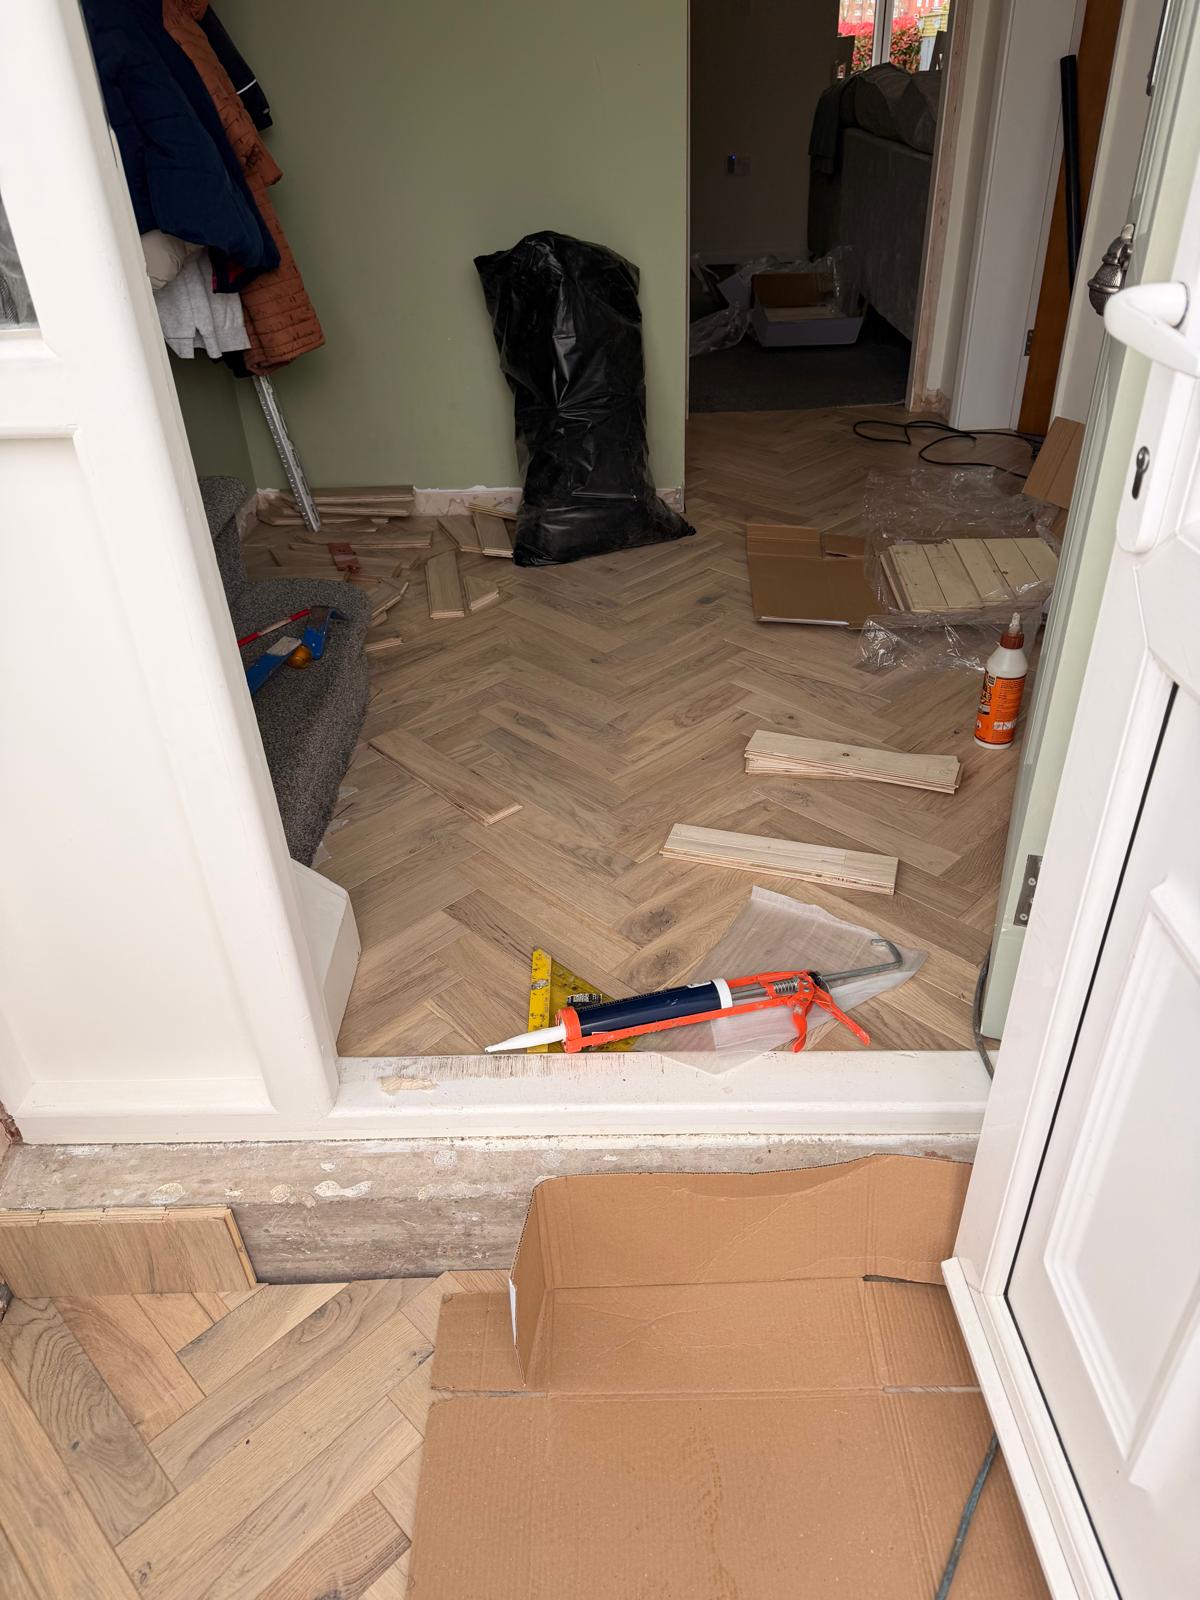
A high-quality, moisture-resistant, flexible wood flooring adhesive (suitable for engineered wood) was trowelled over the plywood.
-
Each engineered herringbone block was fully bonded into the adhesive bed with no movement.
-
The glue-down method was critical for:
-
Preventing joints from opening under foot traffic.
-
Eliminating hollow spots or squeaking.
-
Creating a solid, monolithic feel underfoot.
-
Step 4 – Herringbone Layout & Fitting
-
The herringbone pattern was dry-laid first to ensure perfect alignment and minimal waste.
-
Once the adhesive was ready, each block was pressed firmly into place with consistent expansion gaps left around the perimeter (later hidden under the skirting).
-
A heavy roller was used to ensure 100% adhesive transfer to every plank.
Step 5 – Finishing
-
The removed skirting boards were refitted on top of the new floor (not butt-joined). This covered all expansion gaps and created a clean, built-in look.
-
All joints were sanded lightly (if required) and a natural matt lacquer was applied to protect the engineered wood.
Results
-
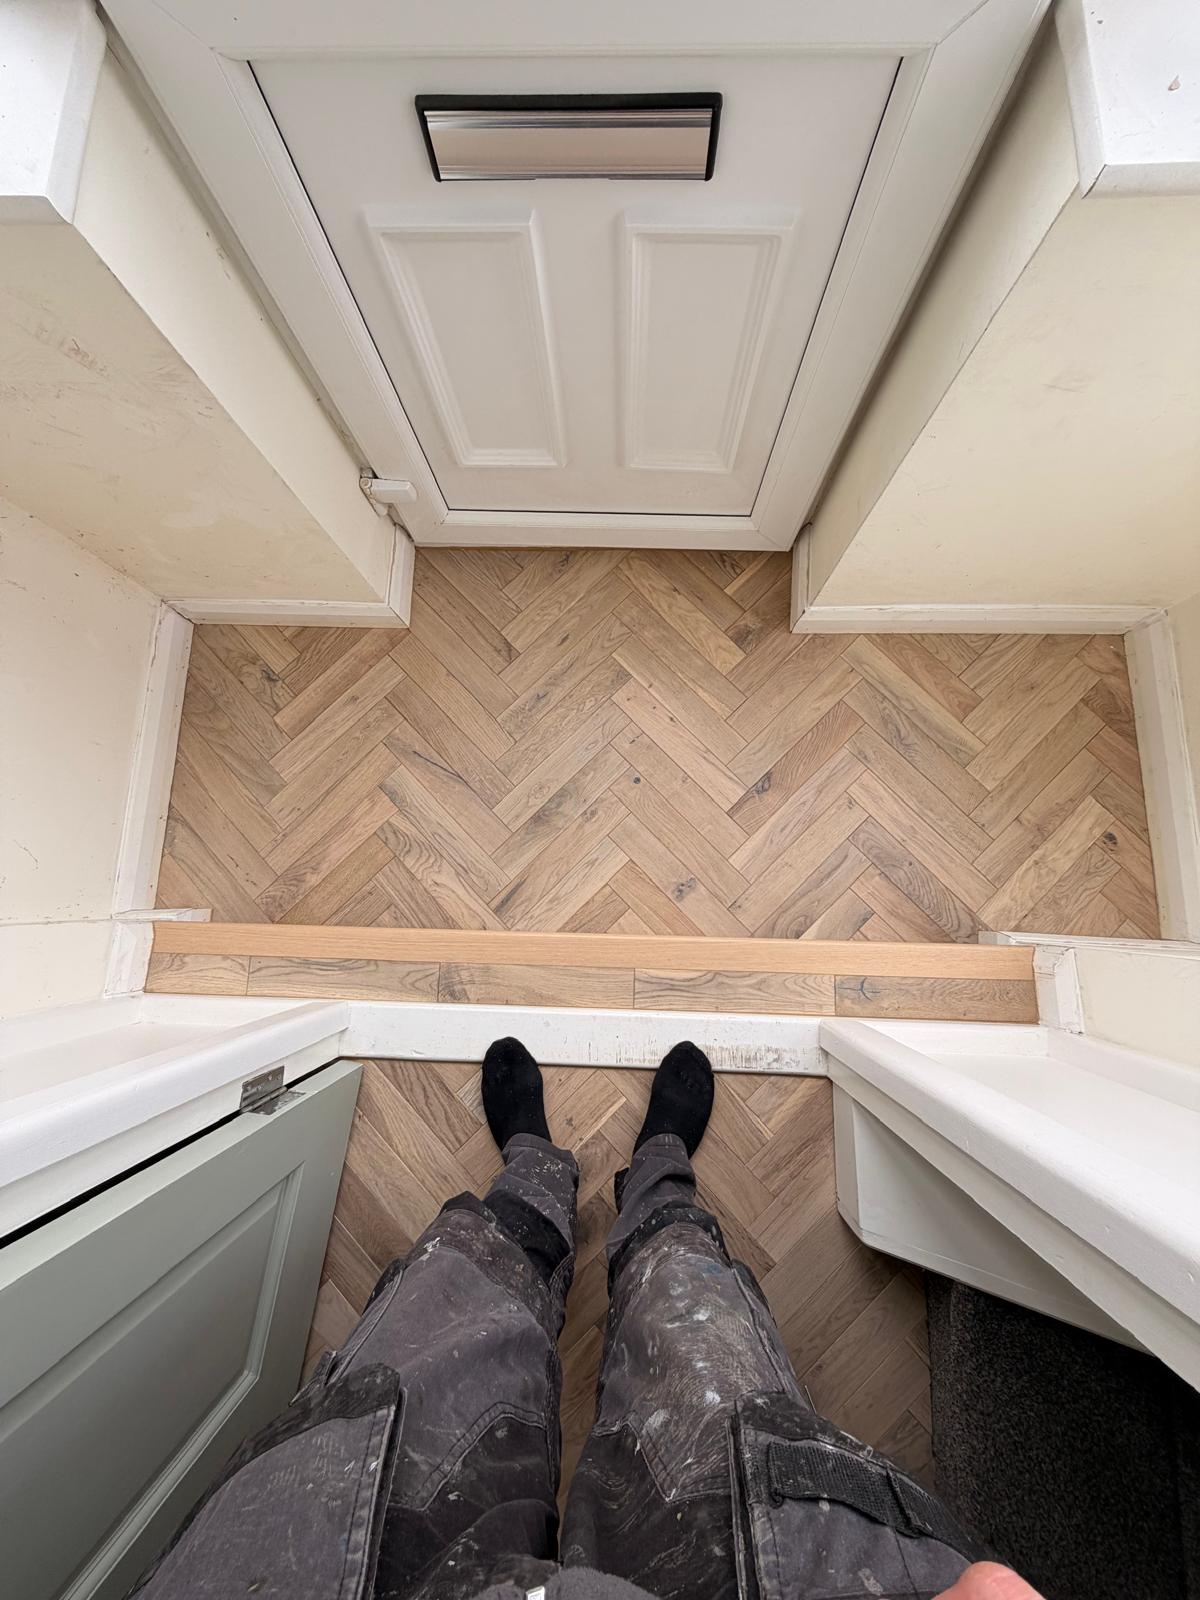
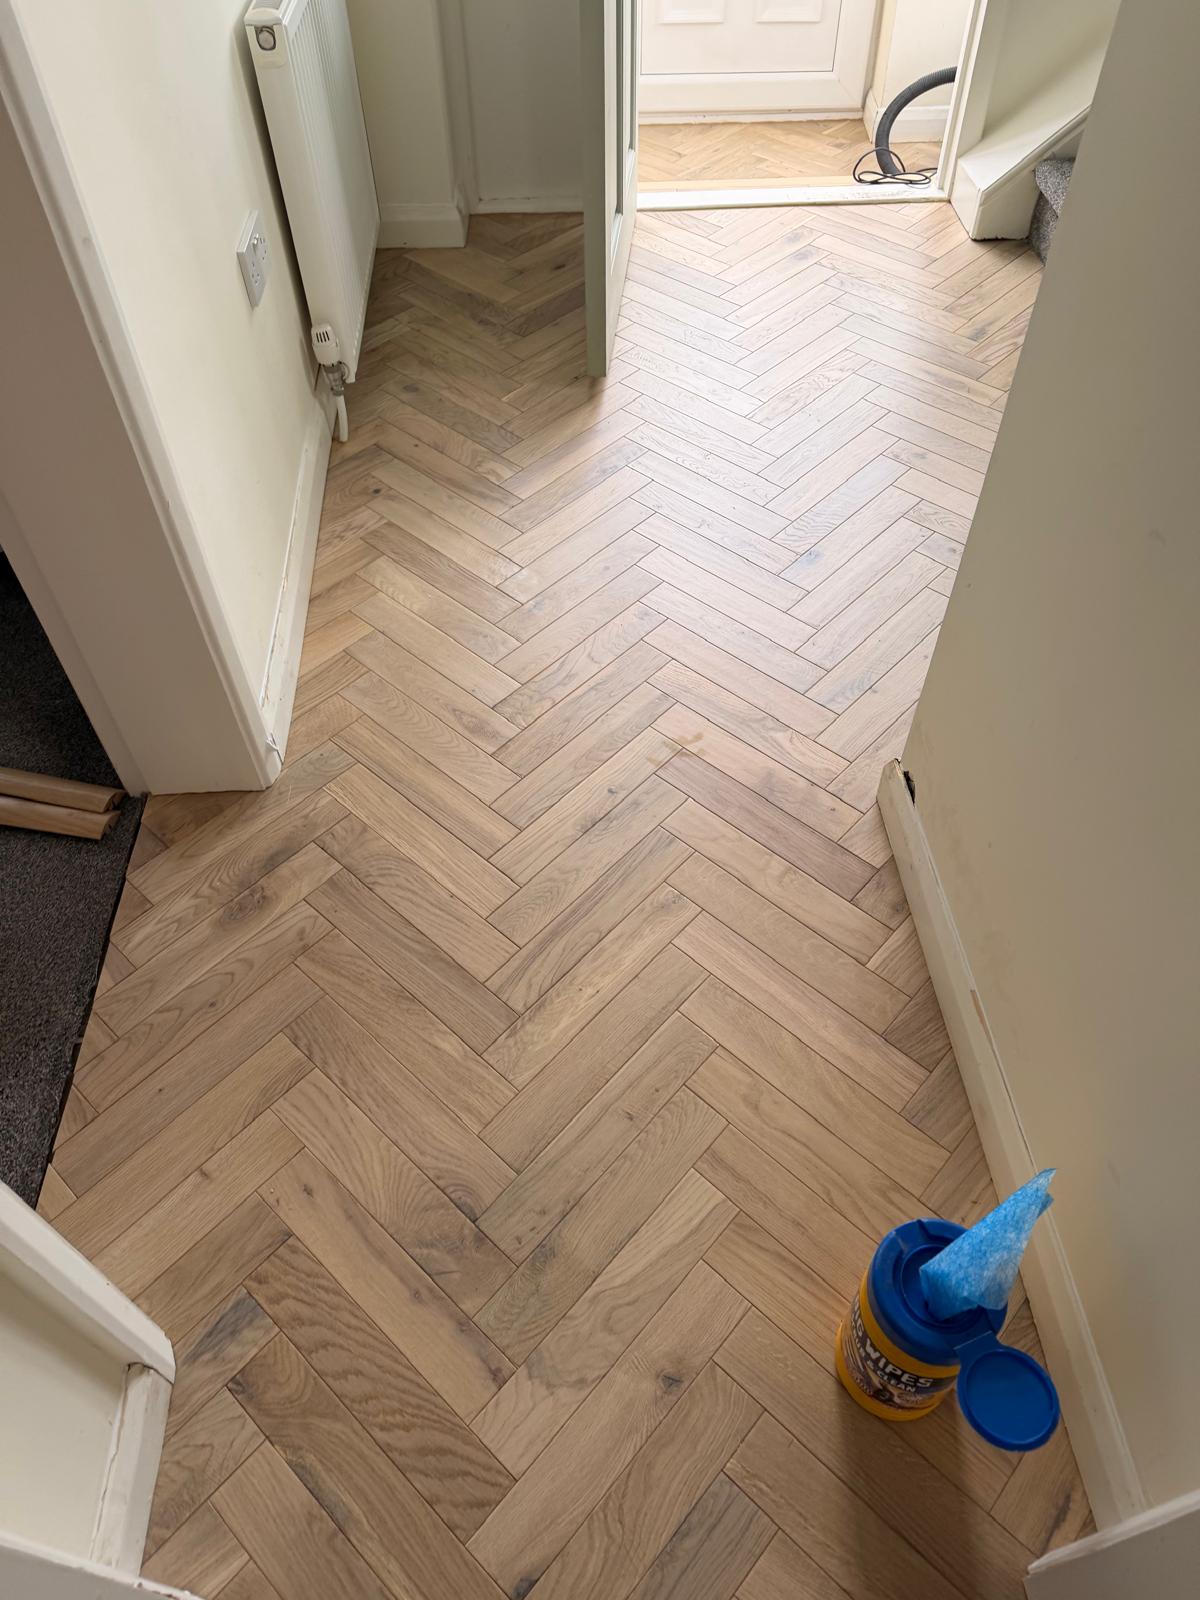
Aesthetic: A stunning, continuous herringbone pattern that immediately elevates the entrance of the property. The wood grain adds warmth and period character.
-
Performance: The fully bonded floor feels solid underfoot with no deflection, creaking, or hollow sounds. The 9mm ply ensures long-term stability.
-
Practicality: The new flooring is easy to clean and far more durable than the previous carpet, ideal for a busy Cheadle family home.
-
Skirting Finish: By removing and refitting the skirting, the installation looks like a bespoke joinery job, with no unsightly beading or gaps.